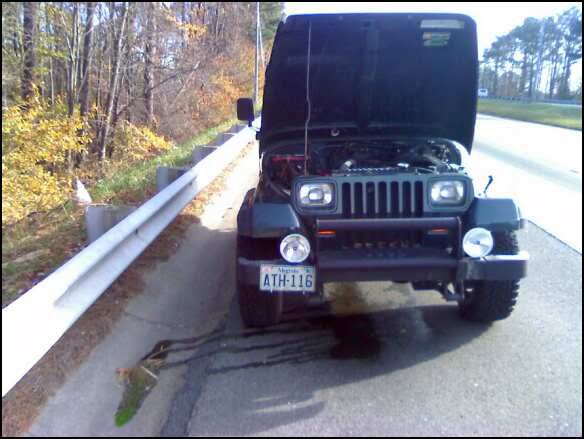
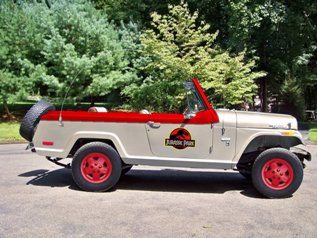
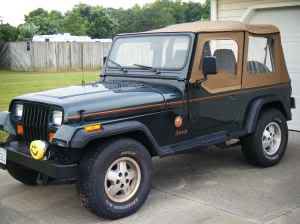
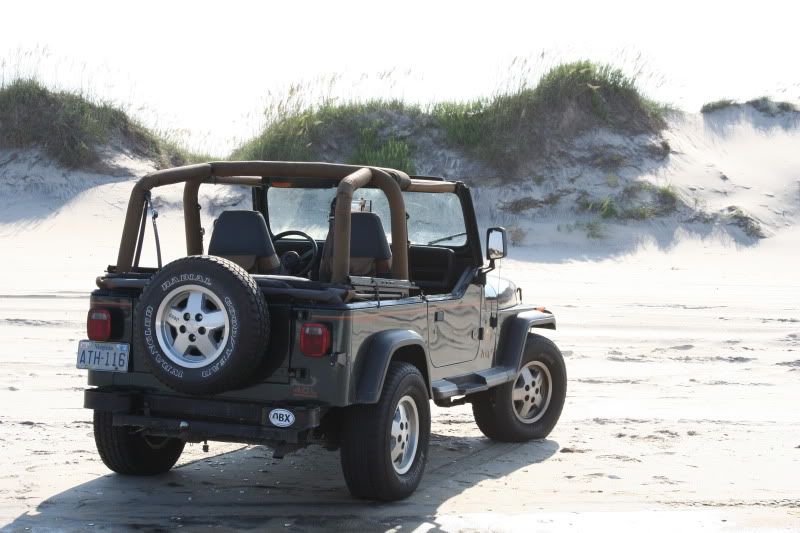
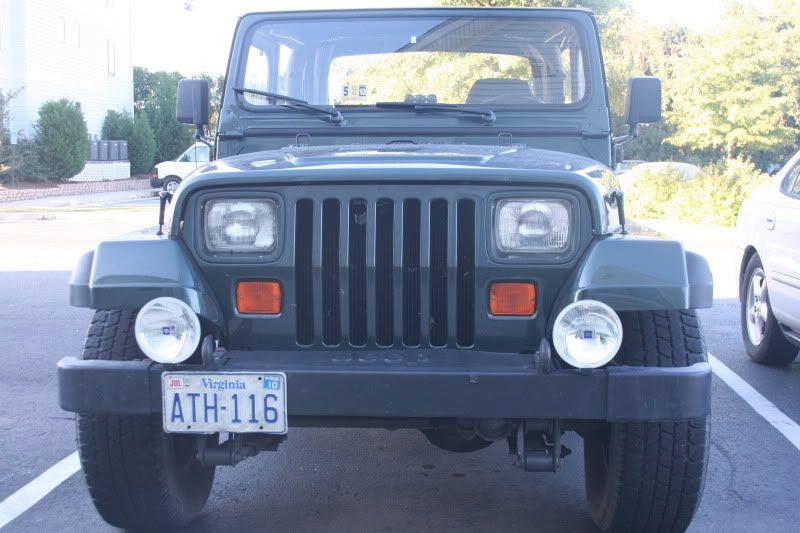
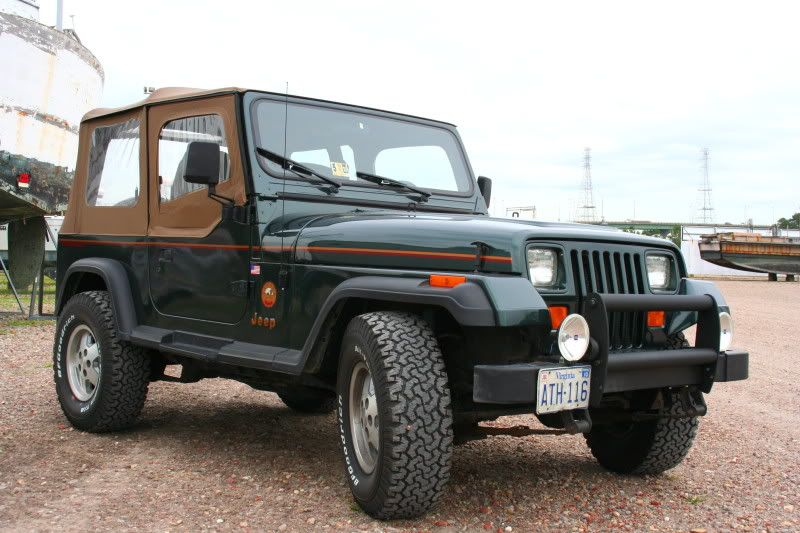
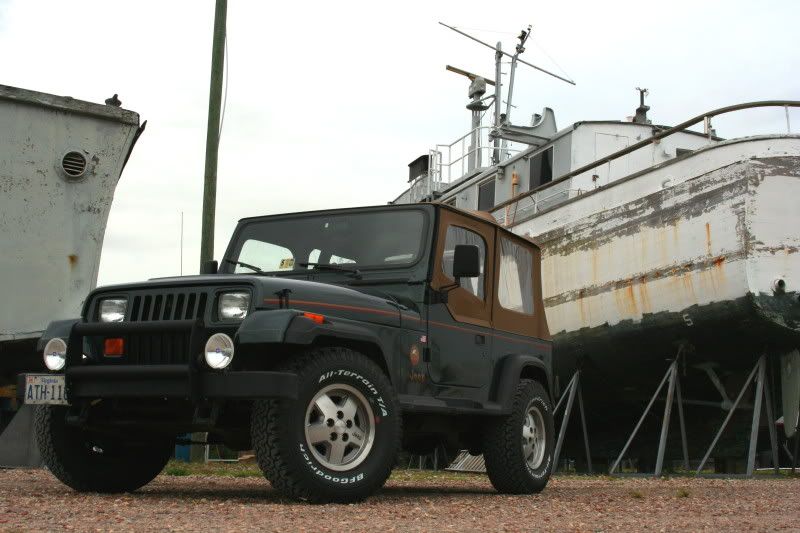
As seen on Craigslist:
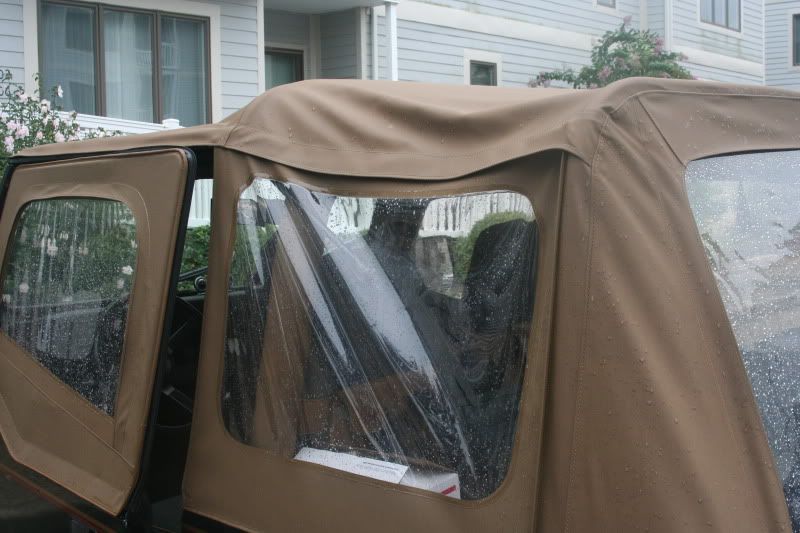
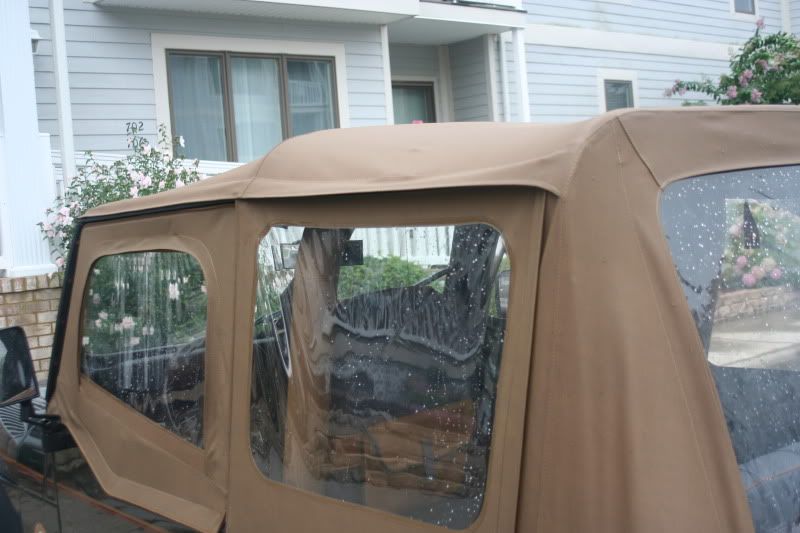
'93 Jeep Wrangler Sahara pkg, 6 cyl, 102,000 miles, 5 speed new paint and top.
![Image](http://img.photobucket.com/albums/v475/grnjp88/3.jpg)
![Image](http://img.photobucket.com/albums/v475/grnjp88/4.jpg)
![Image](http://img.photobucket.com/albums/v475/grnjp88/2.jpg)
![Image](http://img.photobucket.com/albums/v475/grnjp88/1.jpg)
------------------------------------------------------------------------------------------
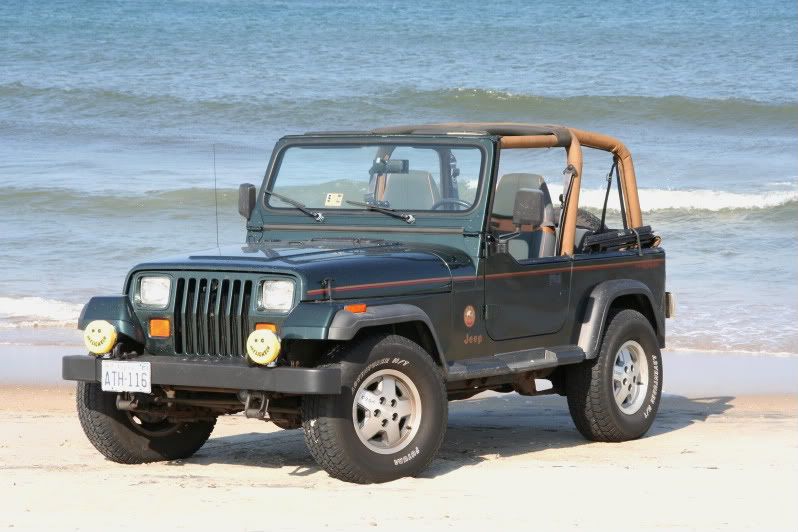
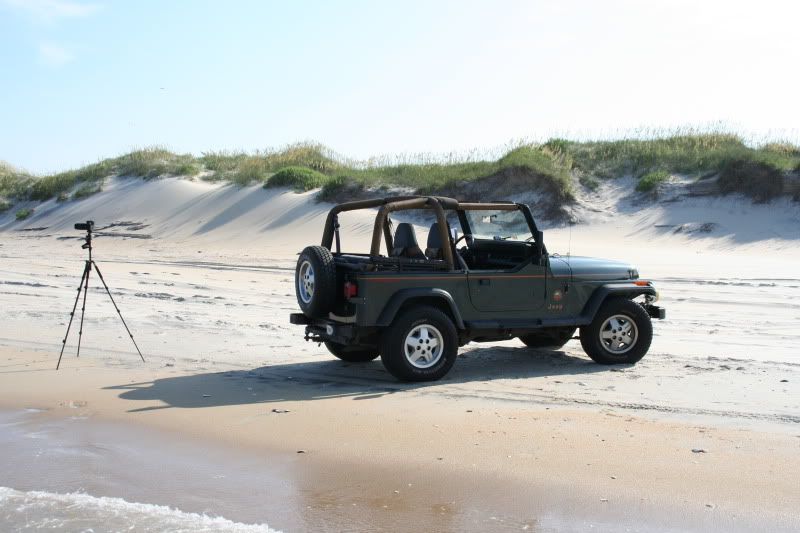
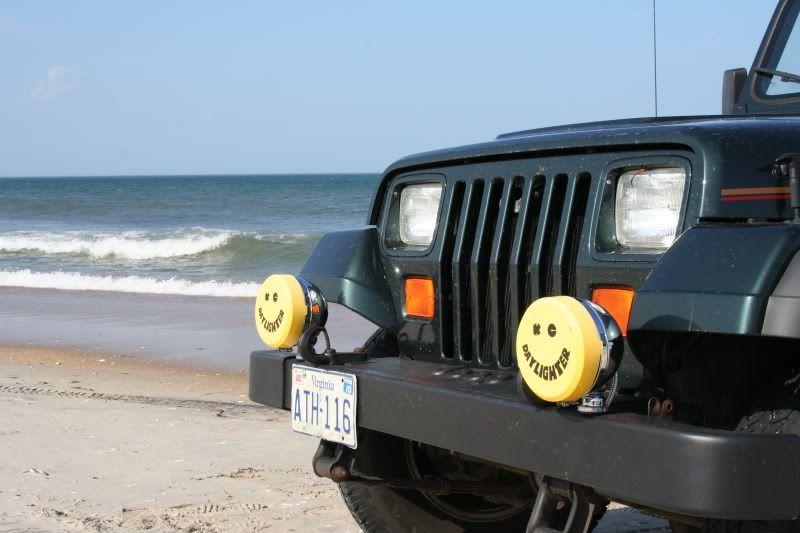
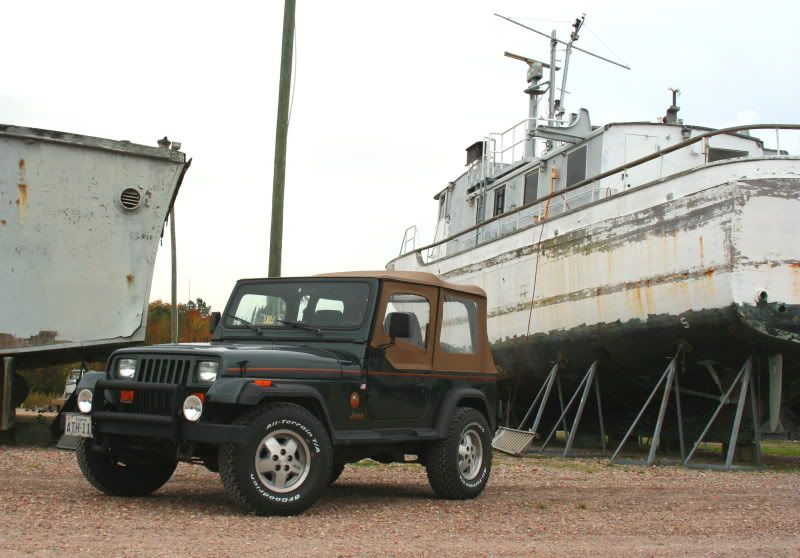
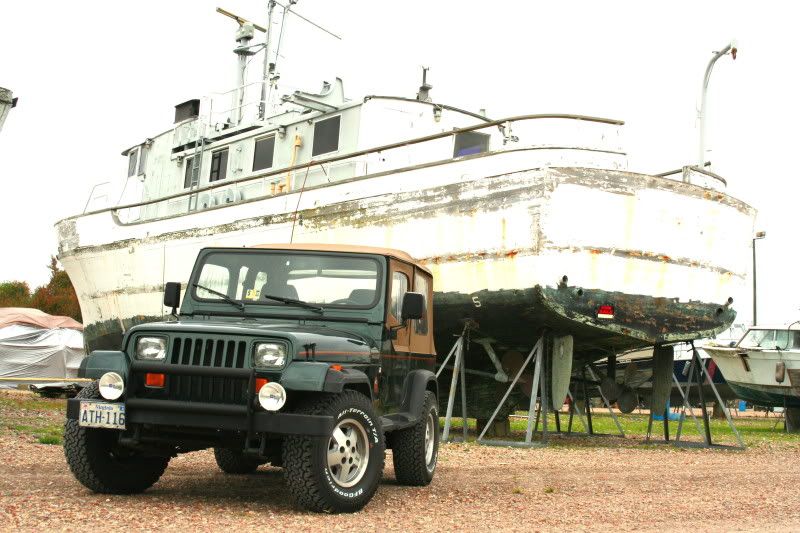
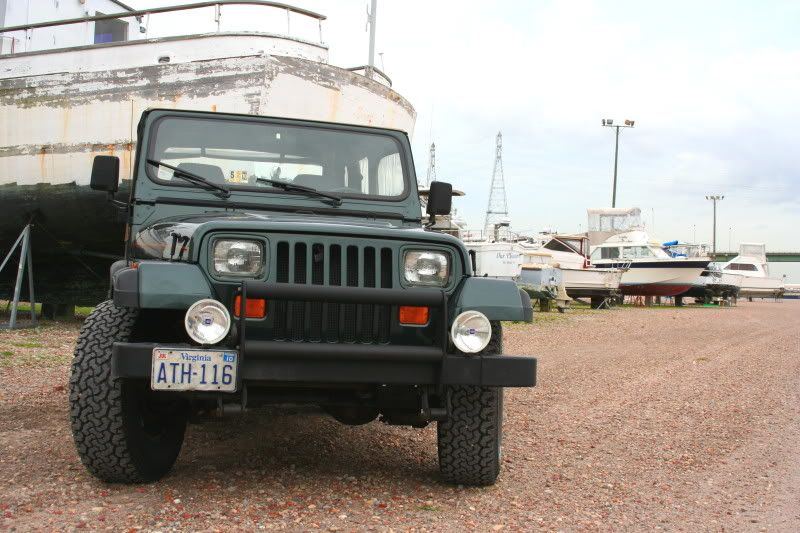
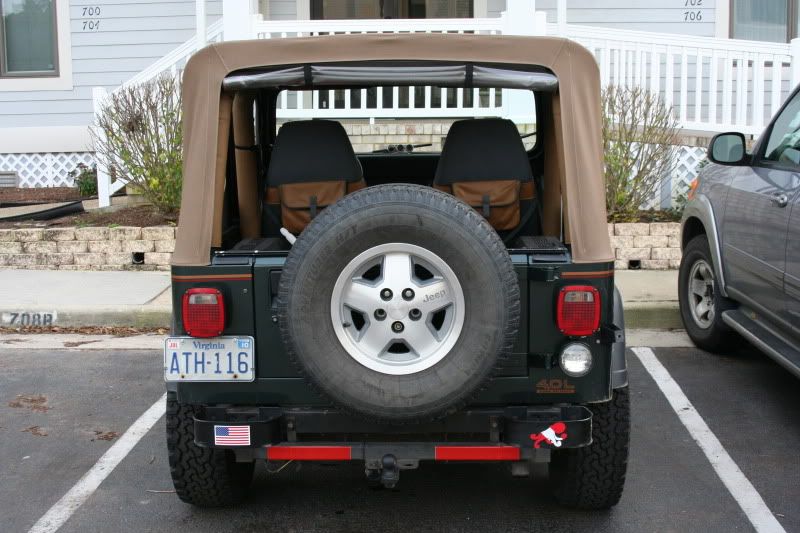
I wasted no time getting to the beach:
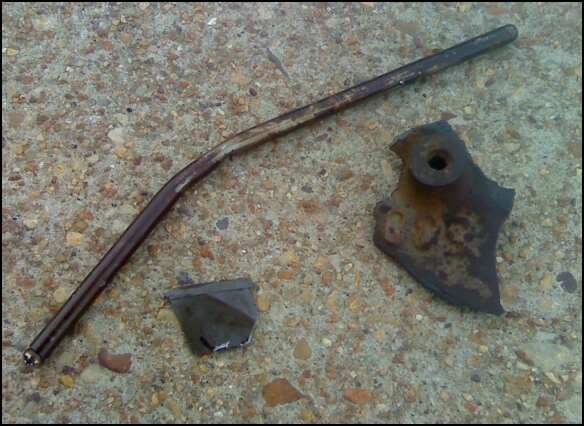
![Image](http://img.photobucket.com/albums/v475/grnjp88/IMG_5988.jpg)
![Image](http://img.photobucket.com/albums/v475/grnjp88/IMG_5995.jpg)
![Image](http://img.photobucket.com/albums/v475/grnjp88/IMG_6004.jpg)
![Image](http://img.photobucket.com/albums/v475/grnjp88/IMG_5994.jpg)
------------------------------------------------------------------------------------------
New spreader bar:
Before:
![Image](http://img.photobucket.com/albums/v475/grnjp88/IMG_6011.jpg)
![Image](http://img.photobucket.com/albums/v475/grnjp88/IMG_6013.jpg)
After:
![Image](http://img.photobucket.com/albums/v475/grnjp88/IMG_6015.jpg)
------------------------------------------------------------------------------------------
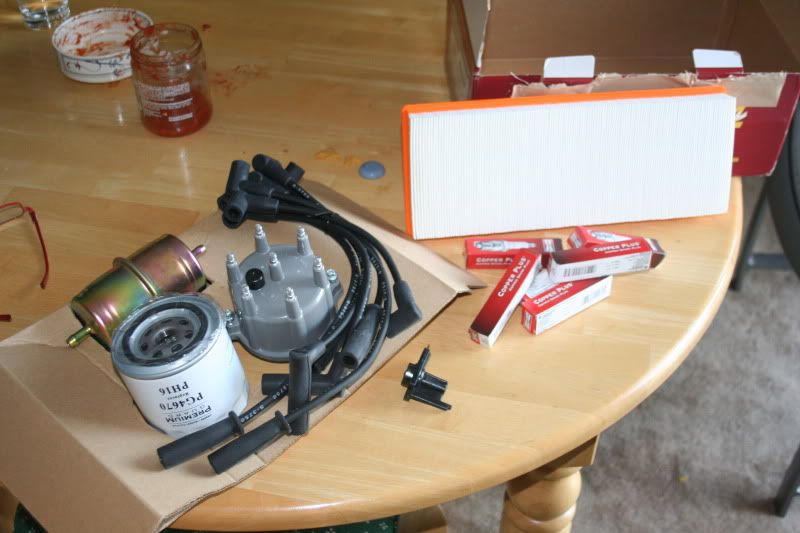
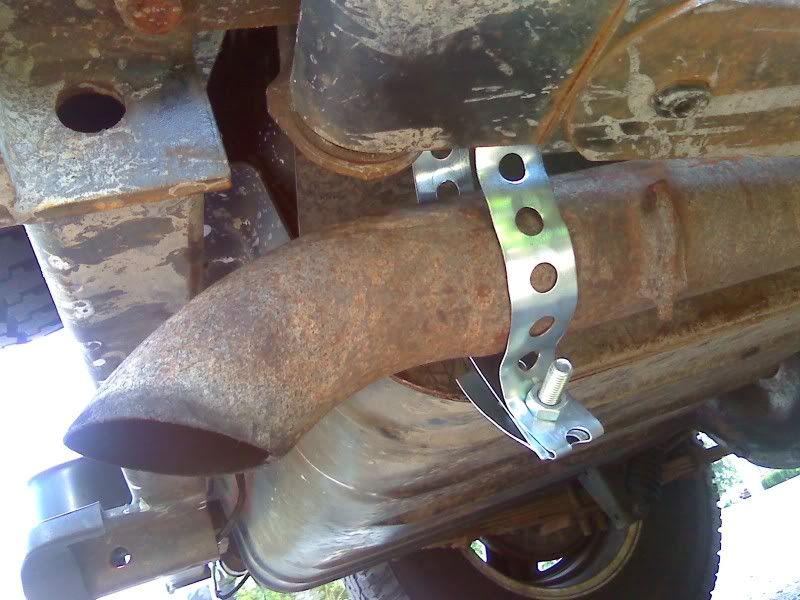
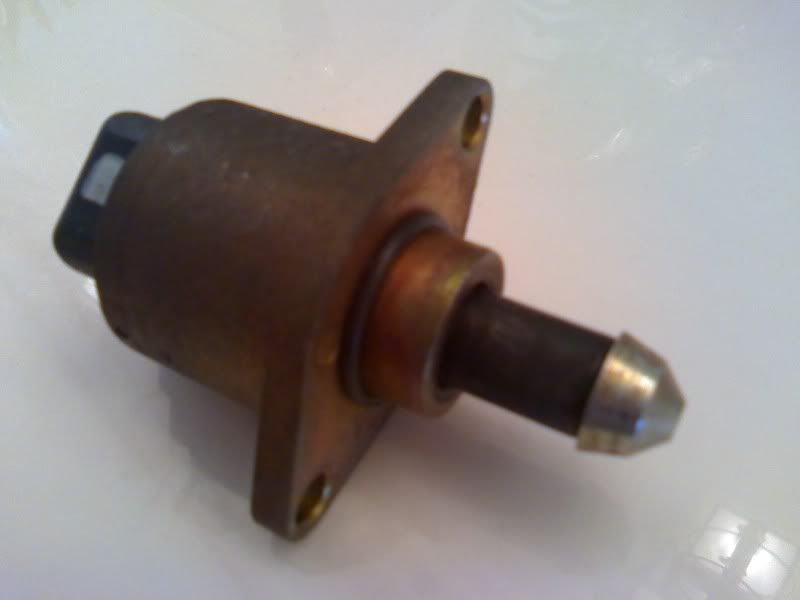
Tune up, exhaust hanger repair, and IAC cleaned:
![Image](http://img.photobucket.com/albums/v475/grnjp88/IMG_6016.jpg)
![Image](http://img.photobucket.com/albums/v475/grnjp88/0824091712a.jpg)
![Image](http://img.photobucket.com/albums/v475/grnjp88/0817091447b.jpg)
------------------------------------------------------------------------------------------
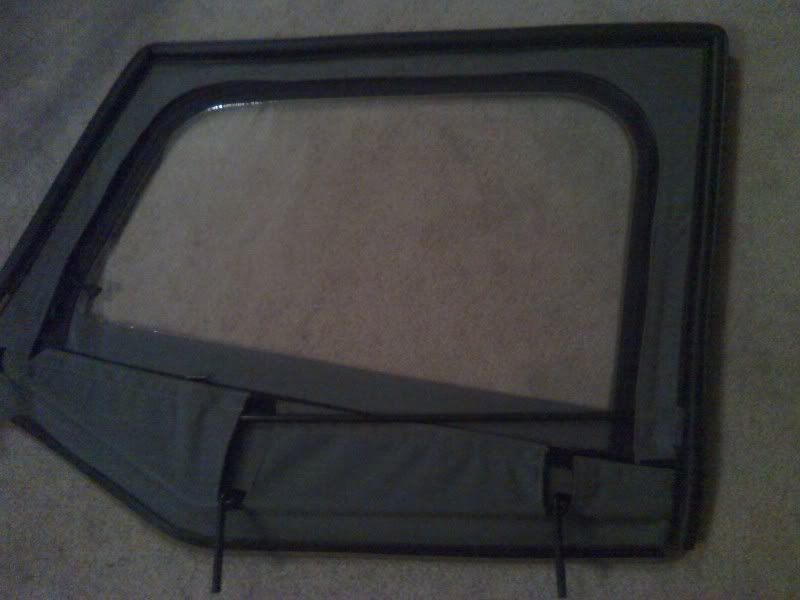
I had these metal tabs on my soft upper door window frames that were a bother.
![Image](http://img.photobucket.com/albums/v475/grnjp88/0907091657a.jpg)
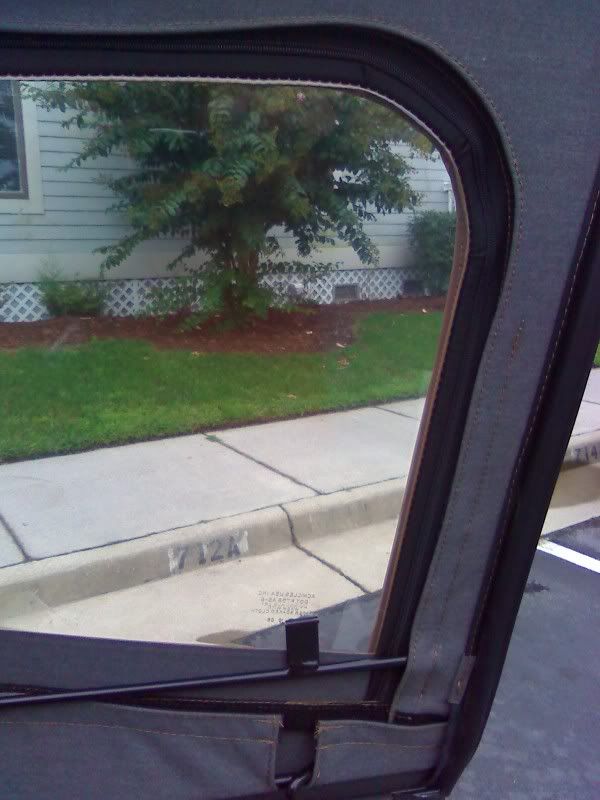
Cut and ground off the tabs:
![Image](http://img.photobucket.com/albums/v475/grnjp88/0928091639b.jpg)
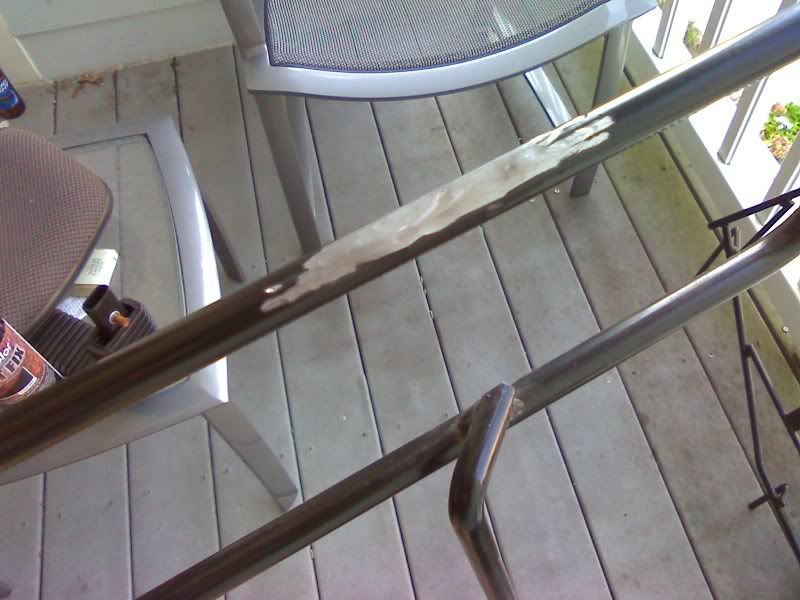
Primed, painted and much better:
![Image](http://img.photobucket.com/albums/v475/grnjp88/0928091848a.jpg)
I will be bed-lining the tub, so I pulled the carpet and most of the seats/seat belts out to start prep work. I only broke off one bolt in the tub.
![Smile :)](./images/smilies/icon_e_smile.gif)
![Image](http://img.photobucket.com/albums/v475/grnjp88/IMG_6021.jpg)
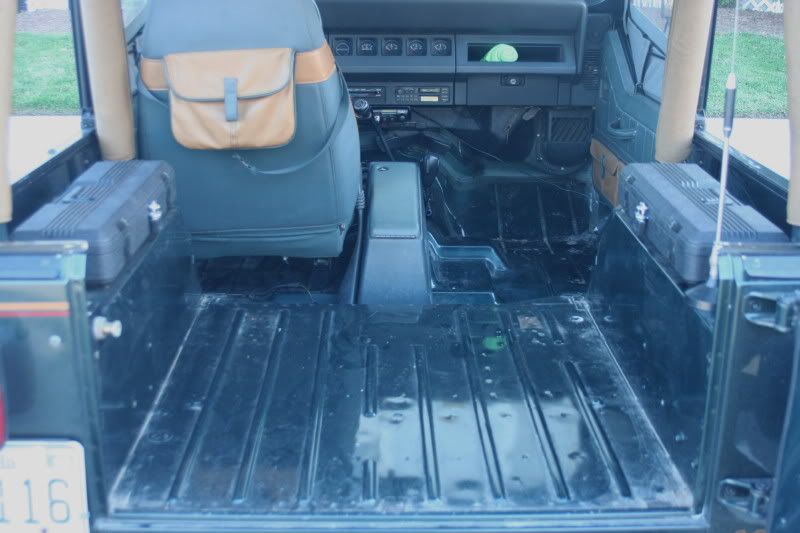
While the carpet was out, I added some Craftsman tool boxes to the rear fender wells. They were just plain latched boxes, so I added some "o" loops and padlocks to keep them secure. The boxes are the perfect size, it's like they're meant for that spot.
![Image](http://img.photobucket.com/albums/v475/grnjp88/IMG_6017.jpg)
![Image](http://img.photobucket.com/albums/v475/grnjp88/IMG_6018.jpg)
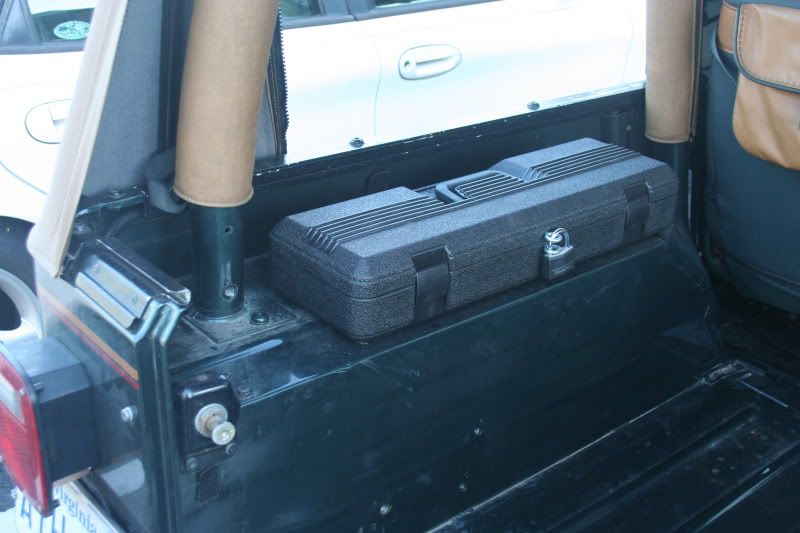
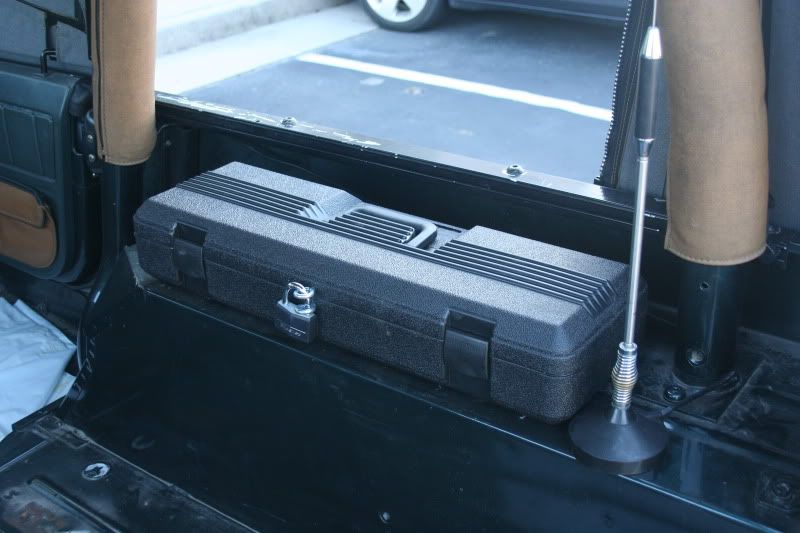
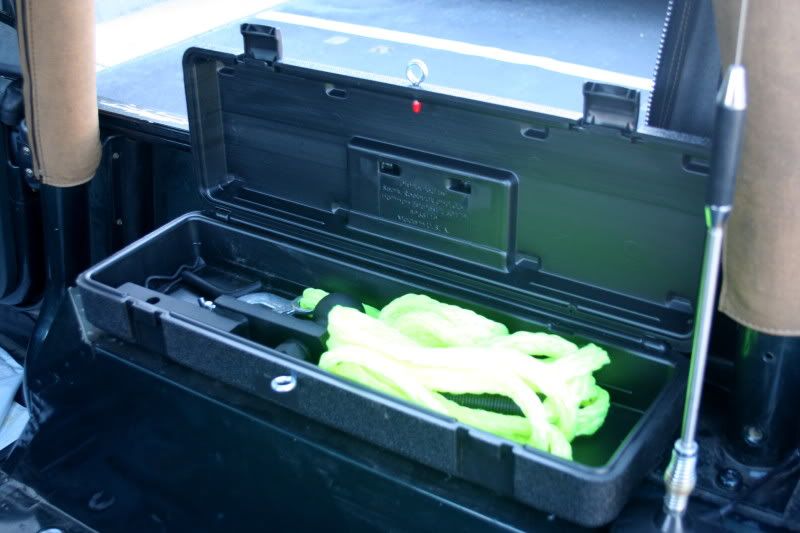
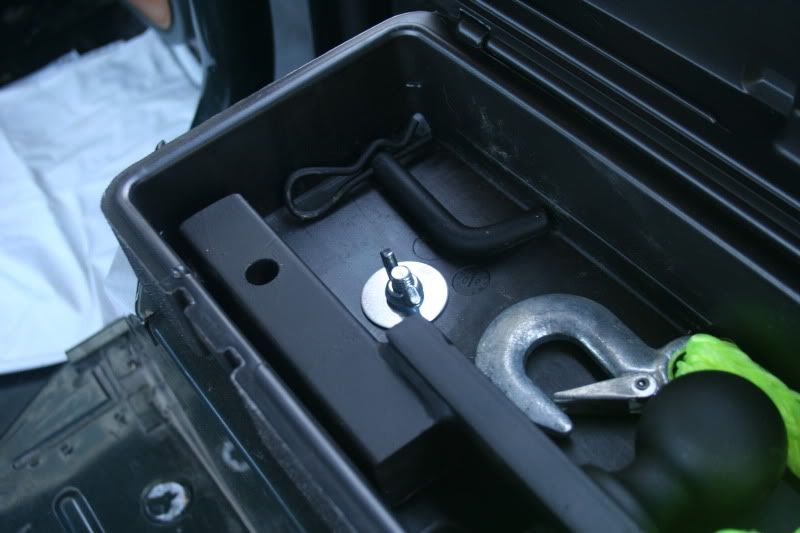
They hold all my towing/recovery gear quite well:
![Image](http://img.photobucket.com/albums/v475/grnjp88/IMG_6019.jpg)
They're bolted though the fender with two bolts each and I tightened them down with wing nuts on the inside, so I can remove the boxes if needed.
![Image](http://img.photobucket.com/albums/v475/grnjp88/IMG_6020.jpg)
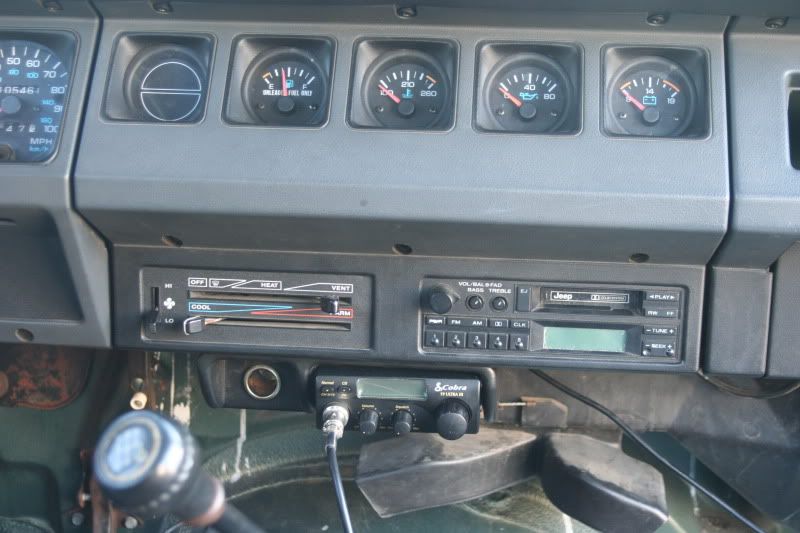
Next, I mounted my CB in the stock ashtray location. Again, perfect fit:
![Image](http://img.photobucket.com/albums/v475/grnjp88/IMG_6024.jpg)
![Image](http://img.photobucket.com/albums/v475/grnjp88/IMG_6023.jpg)
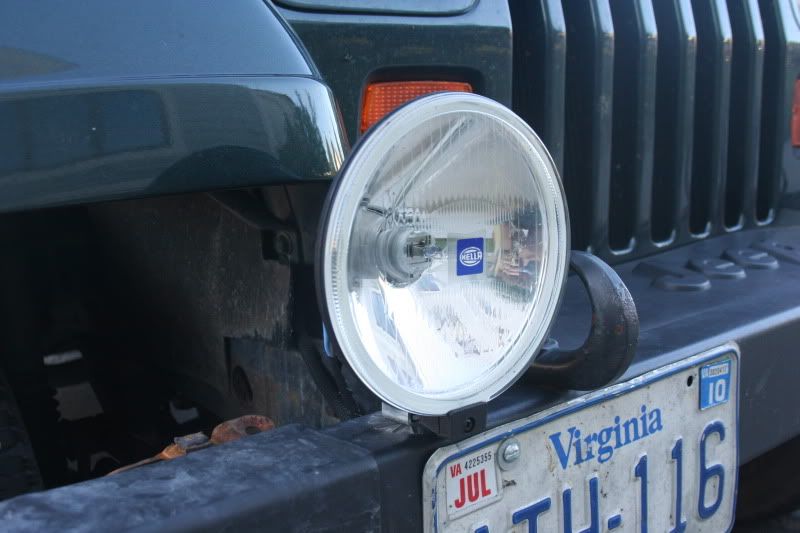
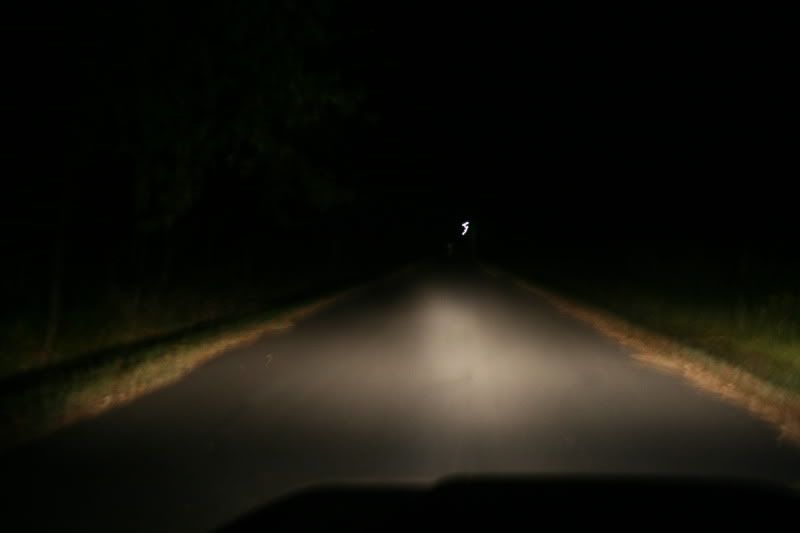
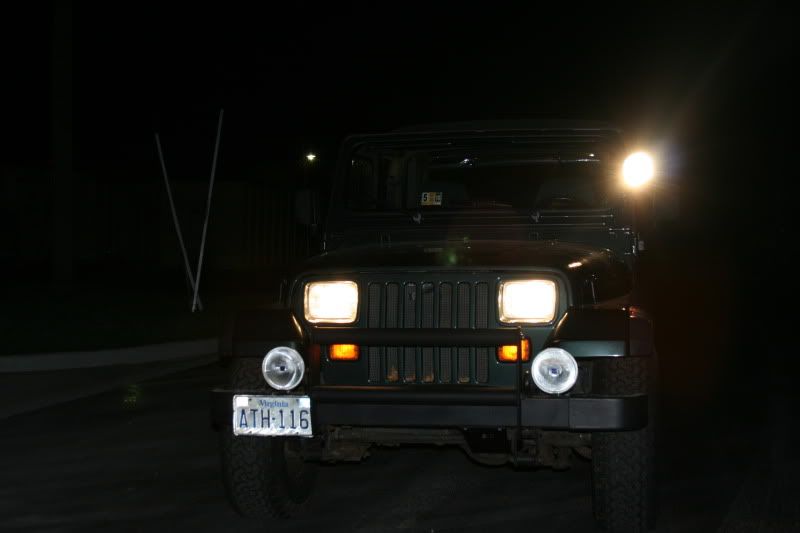
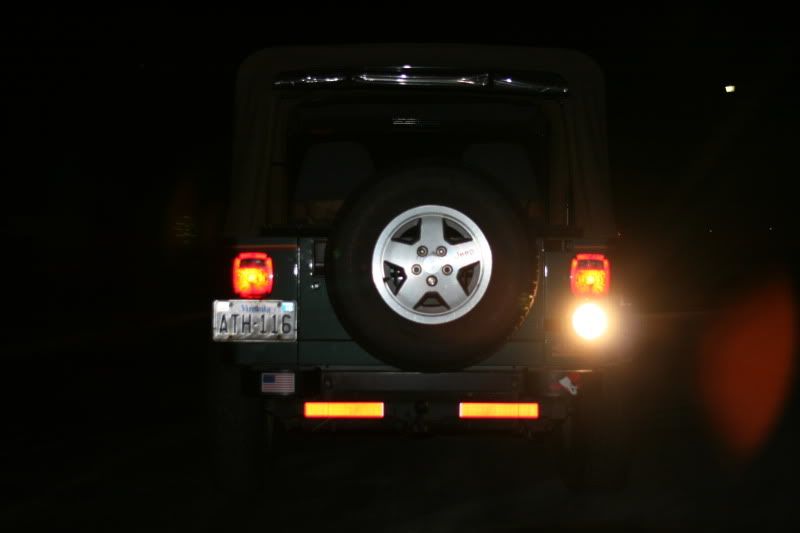
I also replaced my KC lights with Hella 500 driving lights. What difference at night!
![Image](http://img.photobucket.com/albums/v475/grnjp88/IMG_6025.jpg)
![Image](http://img.photobucket.com/albums/v475/grnjp88/IMG_6026.jpg)
------------------------------------------------------------------------------------------
Before and After pics with Hellas:
Before:
![Image](http://img.photobucket.com/albums/v475/grnjp88/IMG_6051.jpg)
After:
![Image](http://img.photobucket.com/albums/v475/grnjp88/IMG_6052.jpg)
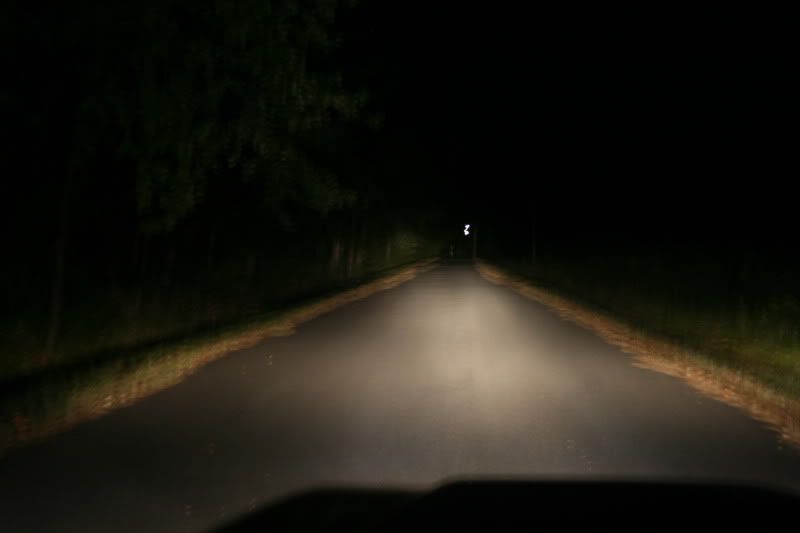
The pictures don't do them justice, but it's a night and day difference with these lights!
![Smile :)](./images/smilies/icon_e_smile.gif)
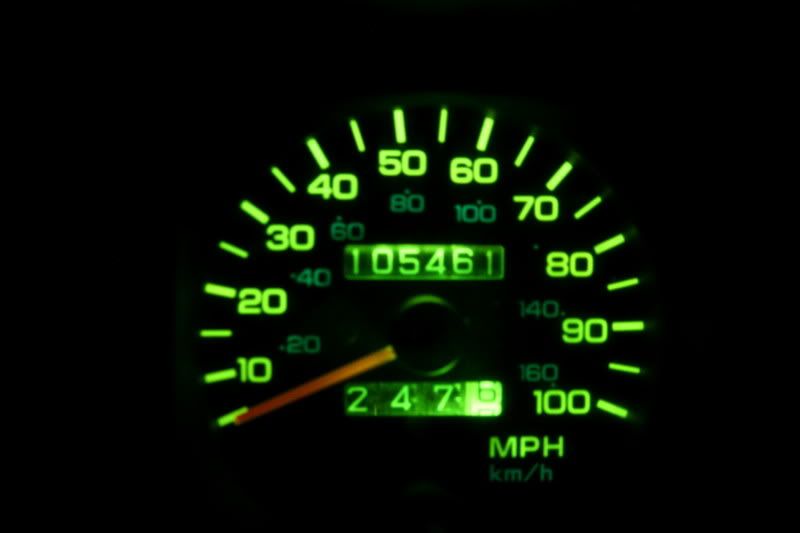
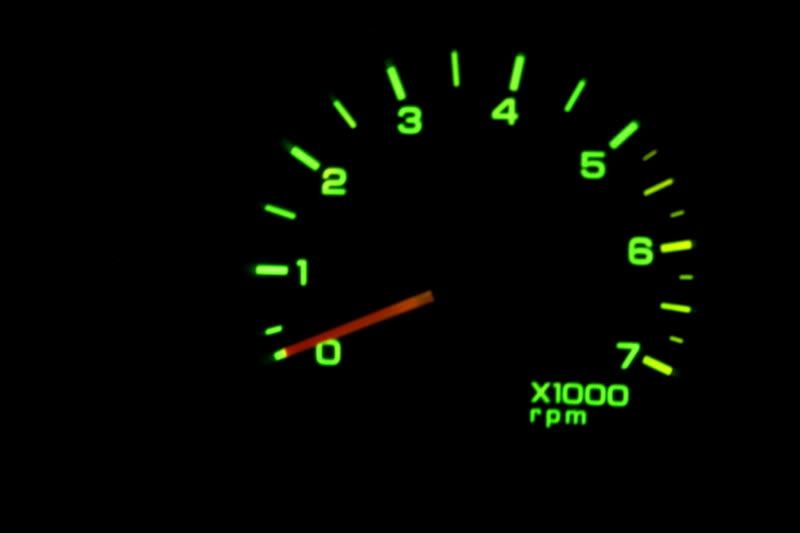
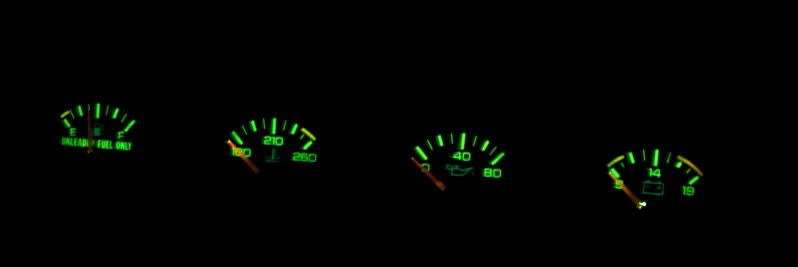
Also, replaced all my instrument cluster light bulbs with green ones. I like the look and it's much easier on the eyes:
![Image](http://img.photobucket.com/albums/v475/grnjp88/IMG_6040.jpg)
![Image](http://img.photobucket.com/albums/v475/grnjp88/IMG_6041.jpg)
![Image](http://img.photobucket.com/albums/v475/grnjp88/IMG_6037.jpg)
------------------------------------------------------------------------------------------
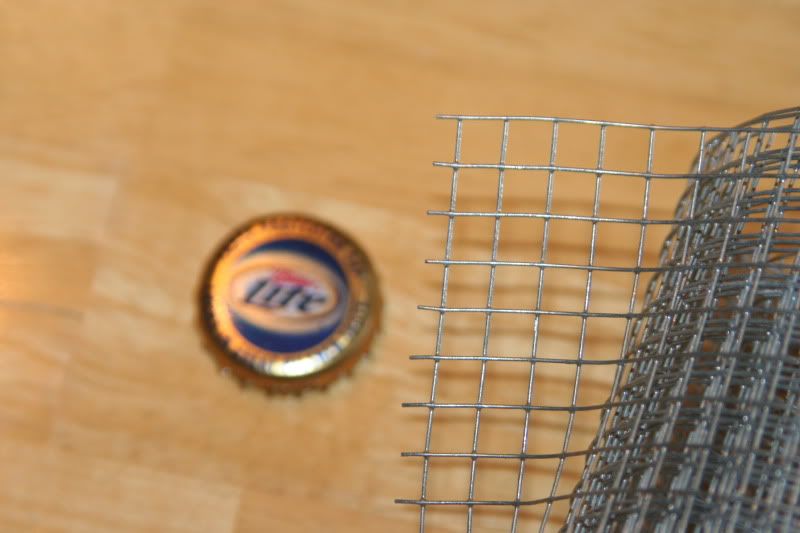
I made/installed the radiator guard.
I started with some 1/4" hardware cloth from Home Depot:
![Image](http://img.photobucket.com/albums/v475/grnjp88/IMG_6055.jpg)
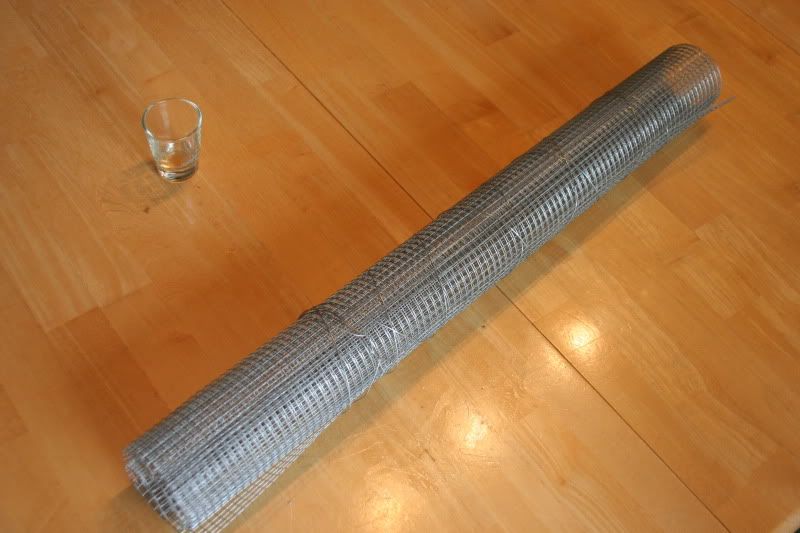
Here is a size comparison shot:
![Image](http://img.photobucket.com/albums/v475/grnjp88/IMG_6058.jpg)
After a little trimming, the mesh slid perfectly into place in between the grill and radiator. I secured the mesh with existing bolts up top:
![Image](http://img.photobucket.com/albums/v475/grnjp88/IMG_6063.jpg)
![Image](http://img.photobucket.com/albums/v475/grnjp88/IMG_6060.jpg)
![Image](http://img.photobucket.com/albums/v475/grnjp88/IMG_6059.jpg)
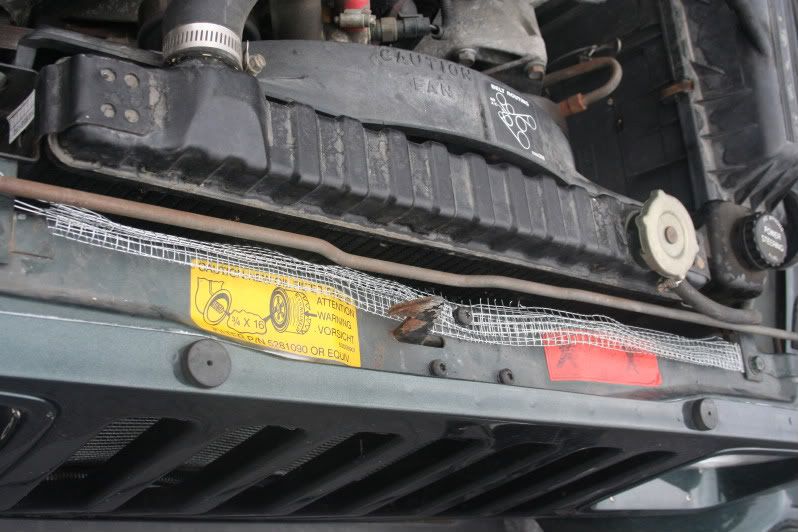
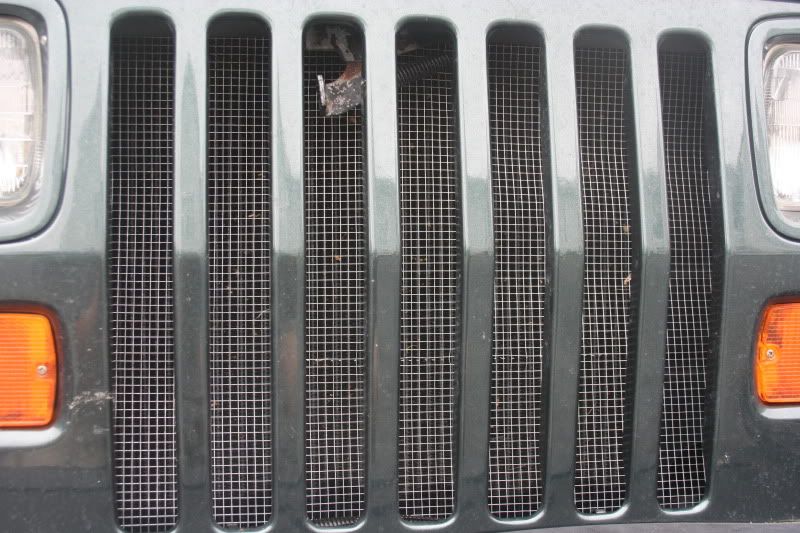
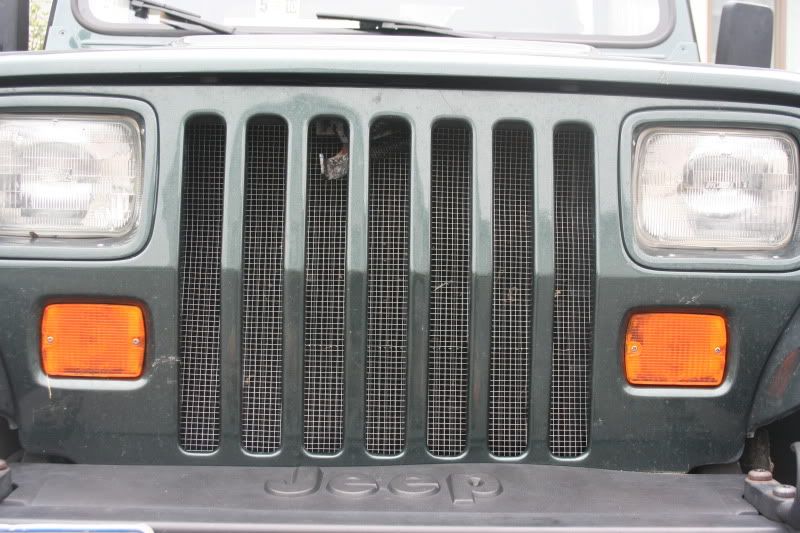
I'm pretty happy with the results, considering it's was a $9 setup.
------------------------------------------------------------------------------------------
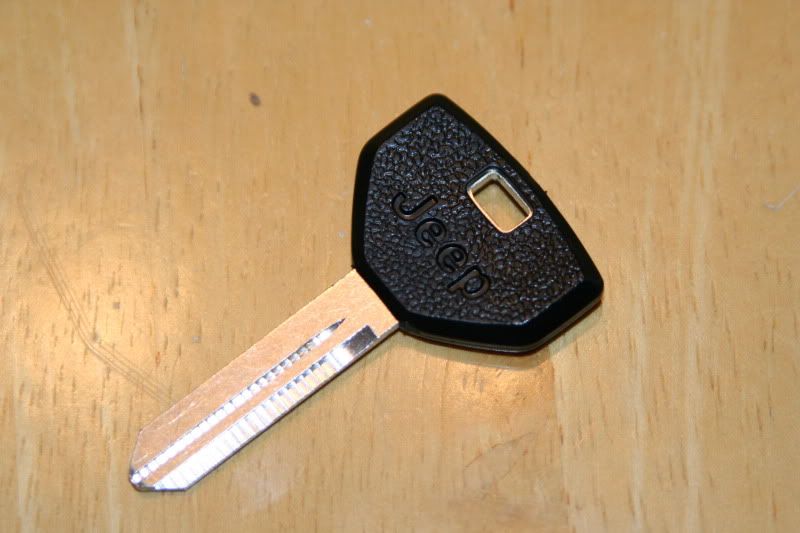
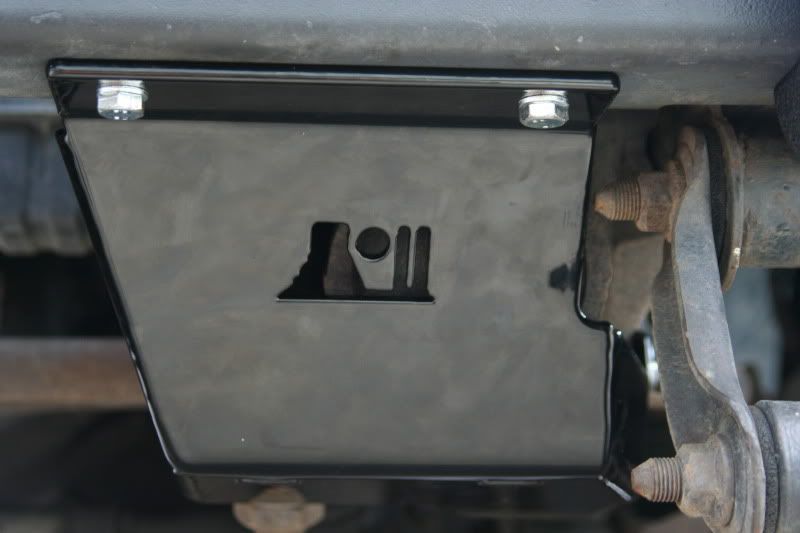
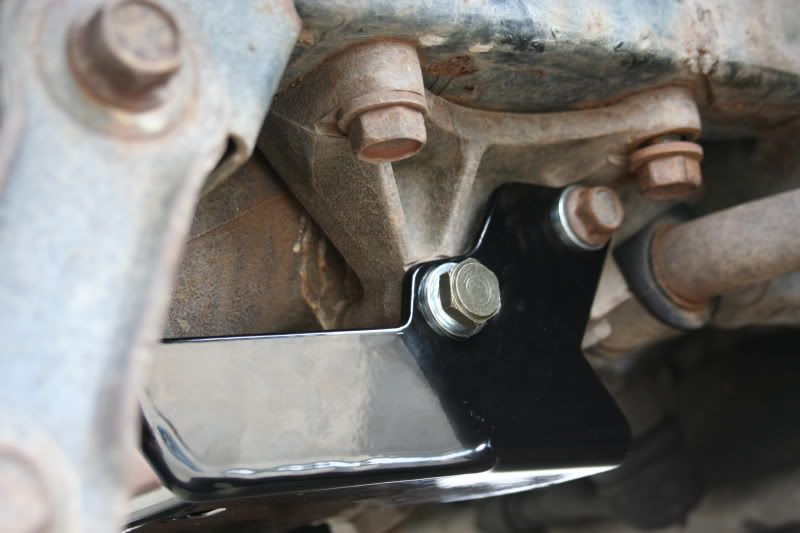
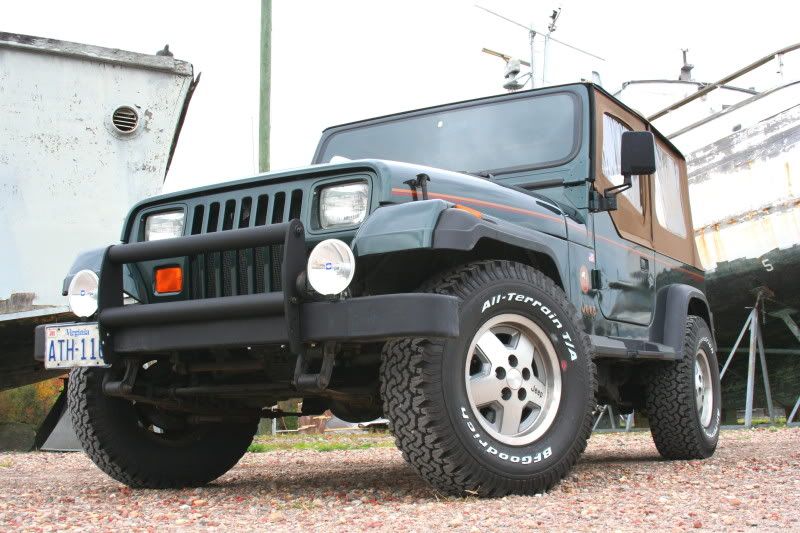
Rugged Ridge steering box skid, Olympic 4x4 grill guard, and a new Jeep logo key blank.
![Image](http://img.photobucket.com/albums/v475/grnjp88/IMG_6302.jpg)
![Image](http://img.photobucket.com/albums/v475/grnjp88/IMG_6303.jpg)
Steering box installed:
![Image](http://img.photobucket.com/albums/v475/grnjp88/IMG_6307.jpg)
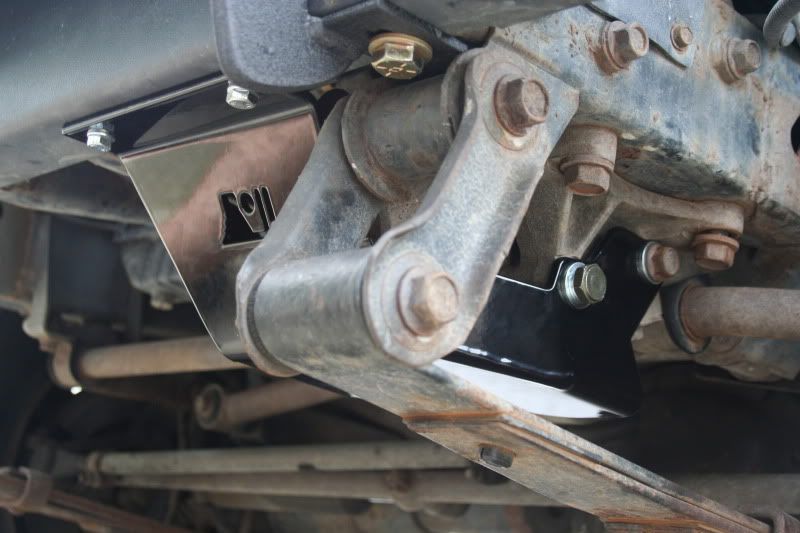
Here you can see where I had to drill the 2 holes:
![Image](http://img.photobucket.com/albums/v475/grnjp88/IMG_6305.jpg)
And the side view of where it used existing mounting points:
![Image](http://img.photobucket.com/albums/v475/grnjp88/IMG_6306.jpg)
------------------------------------------------------------------------------------------
Once I finally got everything mounted (tires, grill guard, skid), I figured it was time for some updated pics:
![Image](http://img.photobucket.com/albums/v475/grnjp88/IMG_6313a.jpg)
![Image](http://img.photobucket.com/albums/v475/grnjp88/IMG_6326.jpg)
![Image](http://img.photobucket.com/albums/v475/grnjp88/IMG_6312a.jpg)
![Image](http://img.photobucket.com/albums/v475/grnjp88/IMG_6319a.jpg)
![Image](http://img.photobucket.com/albums/v475/grnjp88/IMG_6321a.jpg)
![Image](http://img.photobucket.com/albums/v475/grnjp88/IMG_6320a.jpg)
![Image](http://img.photobucket.com/albums/v475/grnjp88/IMG_6330a.jpg)
------------------------------------------------------------------------------------------
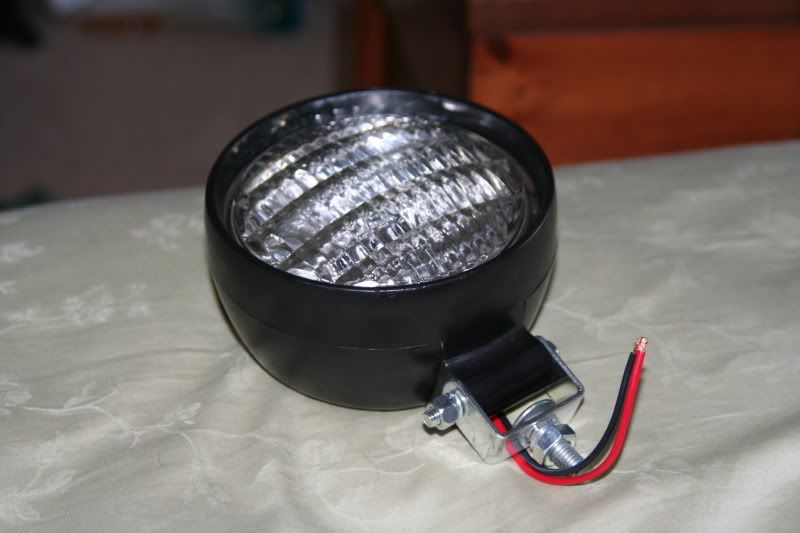
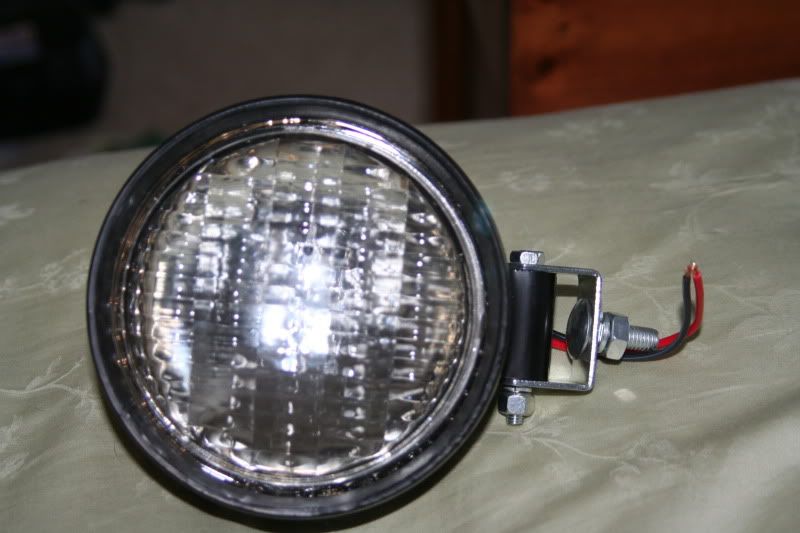
I picked up a 4" utility light from my FLAPS with plans to install it as an auxiliary reverse light:
![Image](http://img.photobucket.com/albums/v475/grnjp88/IMG_6340.jpg)
![Image](http://img.photobucket.com/albums/v475/grnjp88/IMG_6339.jpg)
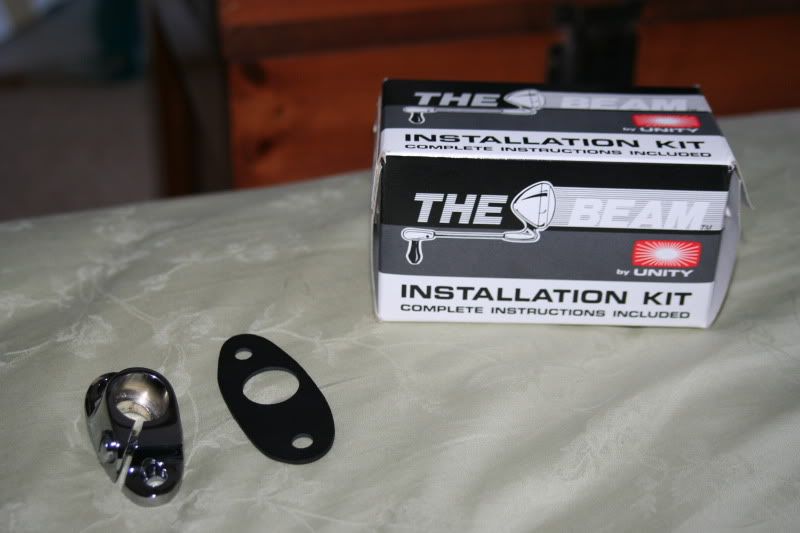
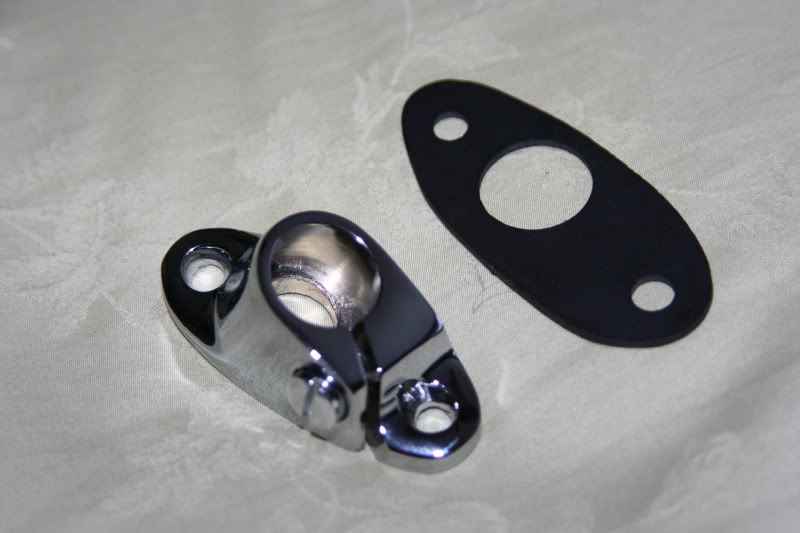
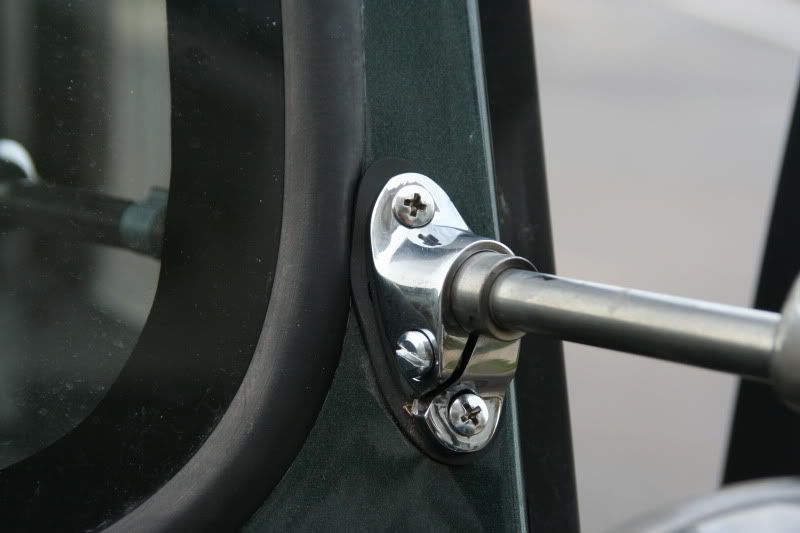
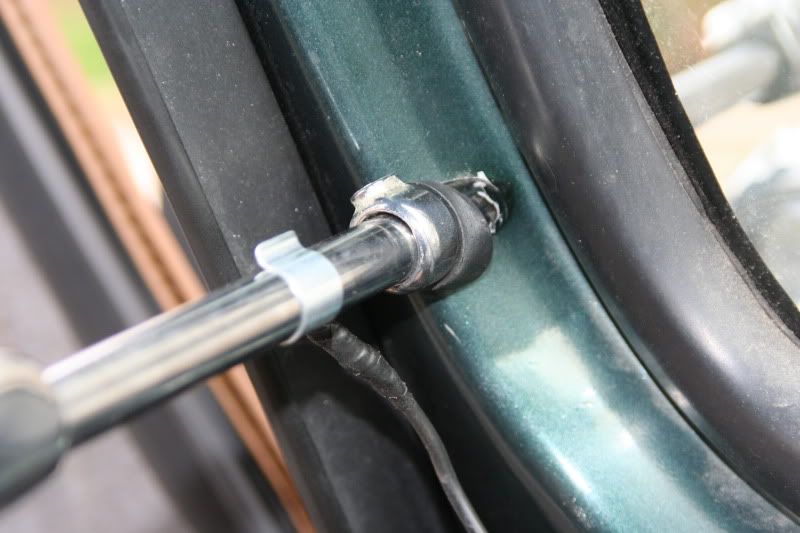
Also, I called up the manufacturer of my police spotlight, and special ordered the mounting bracket for YJs. It came as a complete kit, including bracket, rubber seal, all mounting hardware, extensive instructions, and a template to place on your windshield frame to help with mounting location.
![Image](http://img.photobucket.com/albums/v475/grnjp88/1014091457a.jpg)
![Image](http://img.photobucket.com/albums/v475/grnjp88/IMG_6337.jpg)
![Image](http://img.photobucket.com/albums/v475/grnjp88/IMG_6338.jpg)
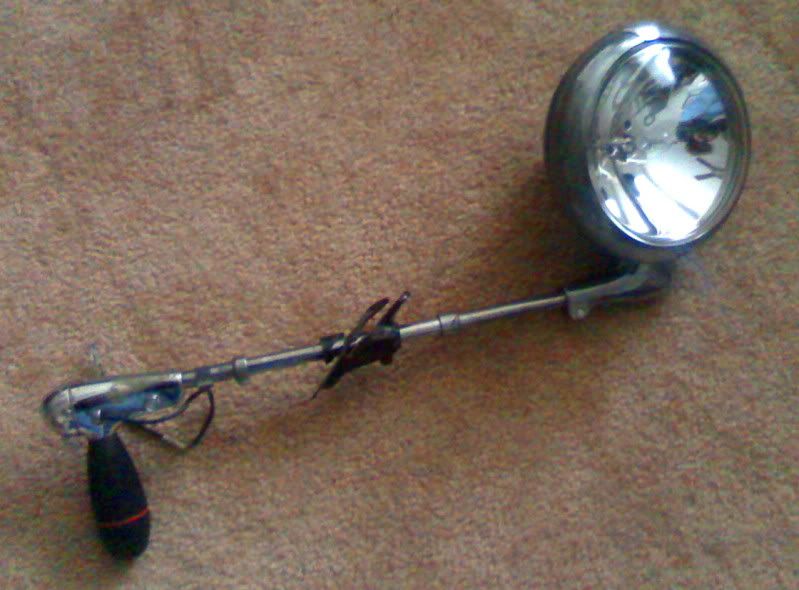
All wired up! Both lights are wired to constant power and were very painless installs.
Installing the spotlight was very straightforward with the instructions I got from Unity. The Jeep-specific bracket fit quite nicely:
![Image](http://img.photobucket.com/albums/v475/grnjp88/IMG_6353.jpg)
![Image](http://img.photobucket.com/albums/v475/grnjp88/IMG_6343.jpg)
![Image](http://img.photobucket.com/albums/v475/grnjp88/IMG_6344.jpg)
![Image](http://img.photobucket.com/albums/v475/grnjp88/IMG_6345.jpg)
![Image](http://img.photobucket.com/albums/v475/grnjp88/IMG_6350.jpg)
![Image](http://img.photobucket.com/albums/v475/grnjp88/IMG_6351.jpg)
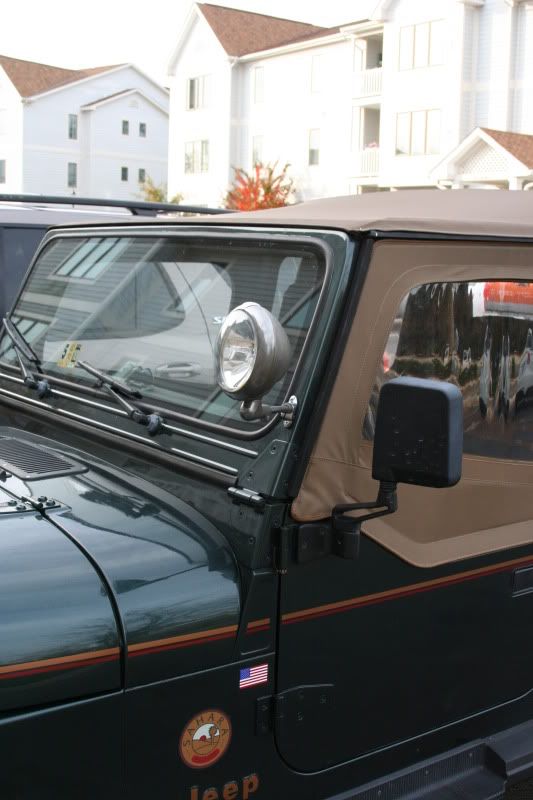
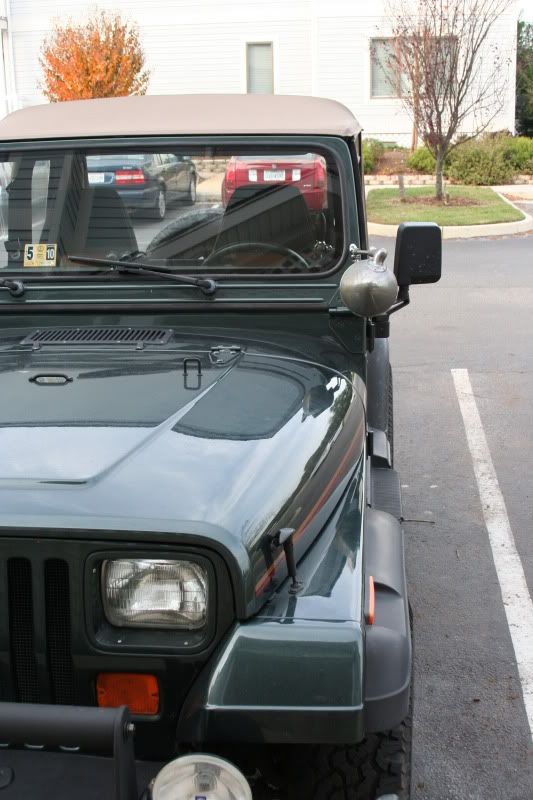
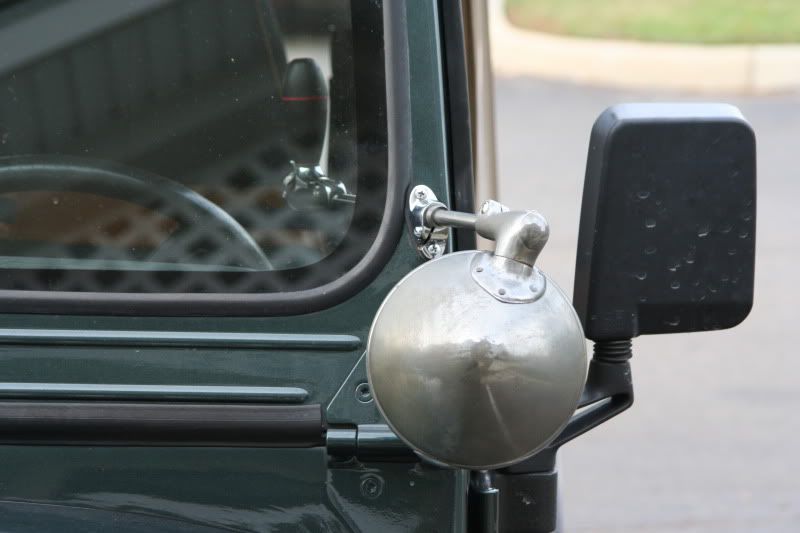
This sucker is BRIGHT!
![Image](http://img.photobucket.com/albums/v475/grnjp88/IMG_6357.jpg)
And my reverse/auxiliary lamp:
![Image](http://img.photobucket.com/albums/v475/grnjp88/IMG_6341.jpg)
![Image](http://img.photobucket.com/albums/v475/grnjp88/IMG_6342.jpg)
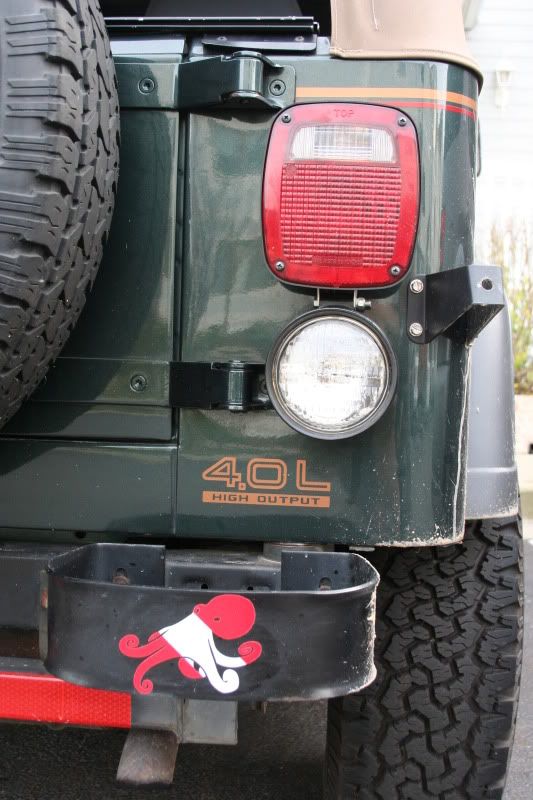
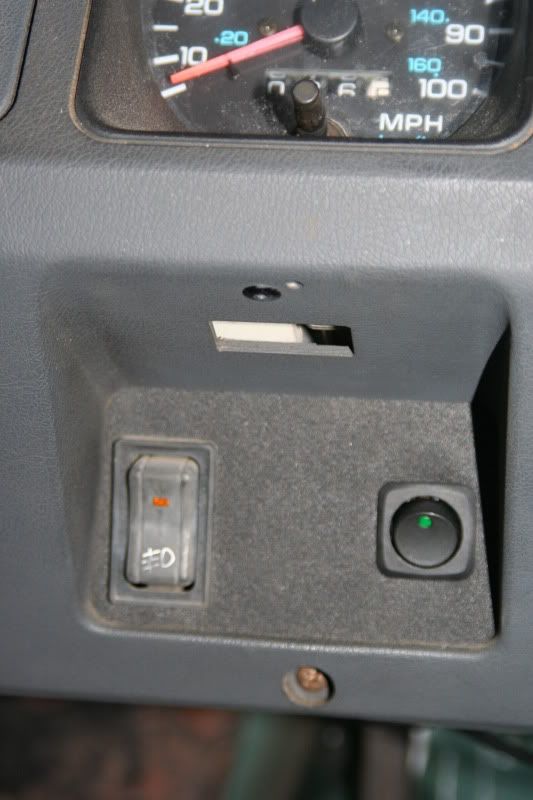
Added the switch right next to the fog lamp switch.
![Image](http://img.photobucket.com/albums/v475/grnjp88/IMG_6349.jpg)
![Image](http://img.photobucket.com/albums/v475/grnjp88/IMG_6361.jpg)
------------------------------------------------------------------------------------------
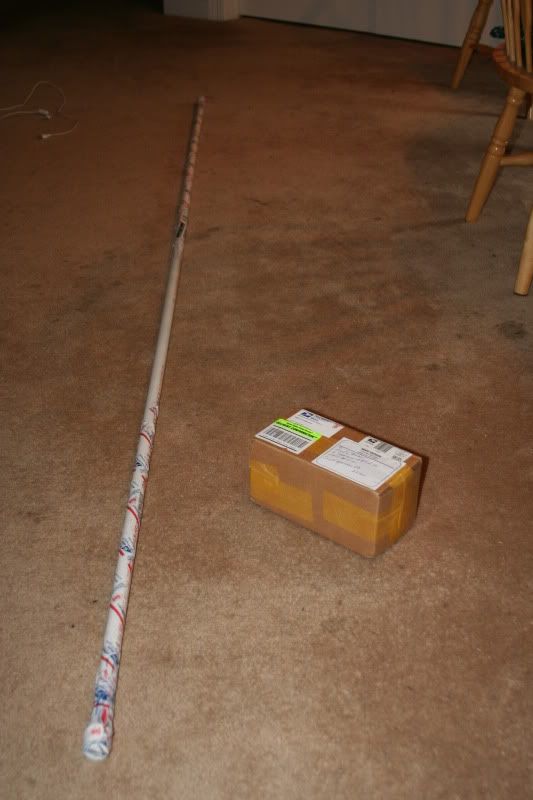
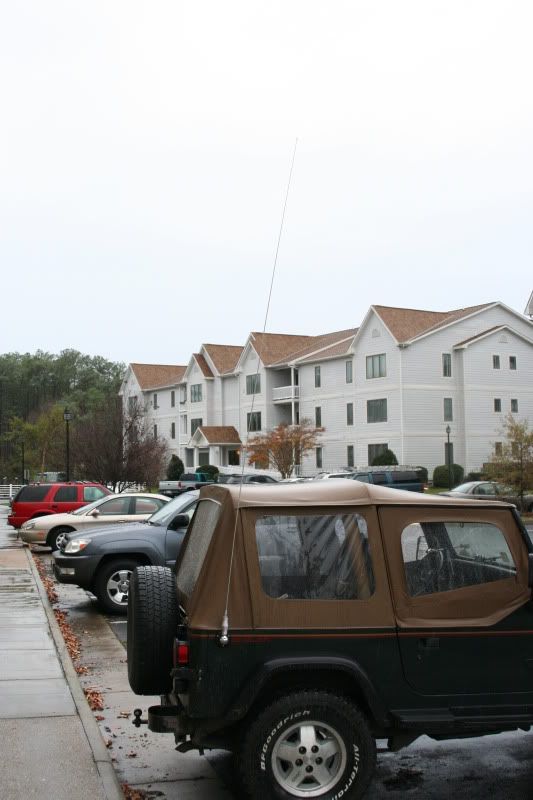
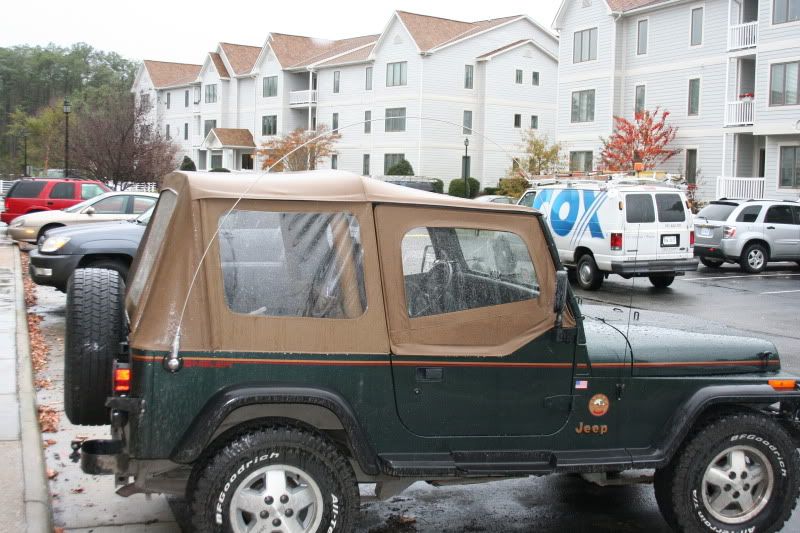
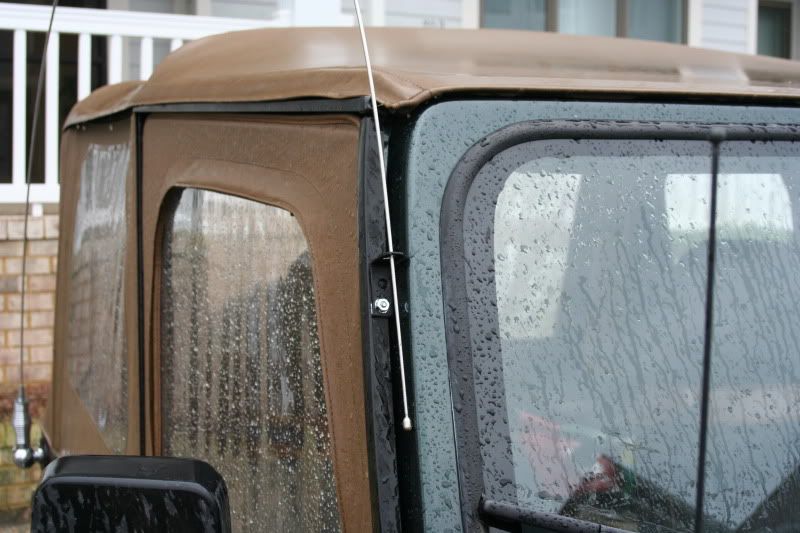
My 102" antenna and ball mount:
![Image](http://img.photobucket.com/albums/v475/grnjp88/IMG_6374.jpg)
![Image](http://img.photobucket.com/albums/v475/grnjp88/IMG_6375.jpg)